I had a question come in where the customer asked how to apply a watercolor effect to clip art using the Watercolor Brush Strokes. You can achieve this look using Photoshop and probably Illustrator. Photoshop is my software of choice since it was the very first design software I used. My teacher drove from Alabama to Georgia to stay for 2 days and show me how to use Photoshop. It was part of my degree that (back then) was customized to what I needed since there was no how-to videos or training online. The site Lynda was just getting started at the time. So, needless to say, I feel the most comfortable in Photoshop. Let’s dive right in and I’ll show you how it works.
What You Need To Complete This Tutorial
- Photoshop (CC or earlier versions)
- Watercolor Brush Strokes or Flower Stamp Brushes
- Clip art of your choice or a shape or cut-out shape from a photo
TUTORIAL VIDEO
STEP 1 – Open Your Clip Art File

> Open up your clip art file that you want to use.
*The one I used in the image above is from a royalty free image site named Pixabay. You can find the image here. To open your image file, you can click and drag it into Photoshop and it’ll open it for you.
OR
> You can select File> Open > Click on your image file
STEP 2 – Duplicate Your Layer
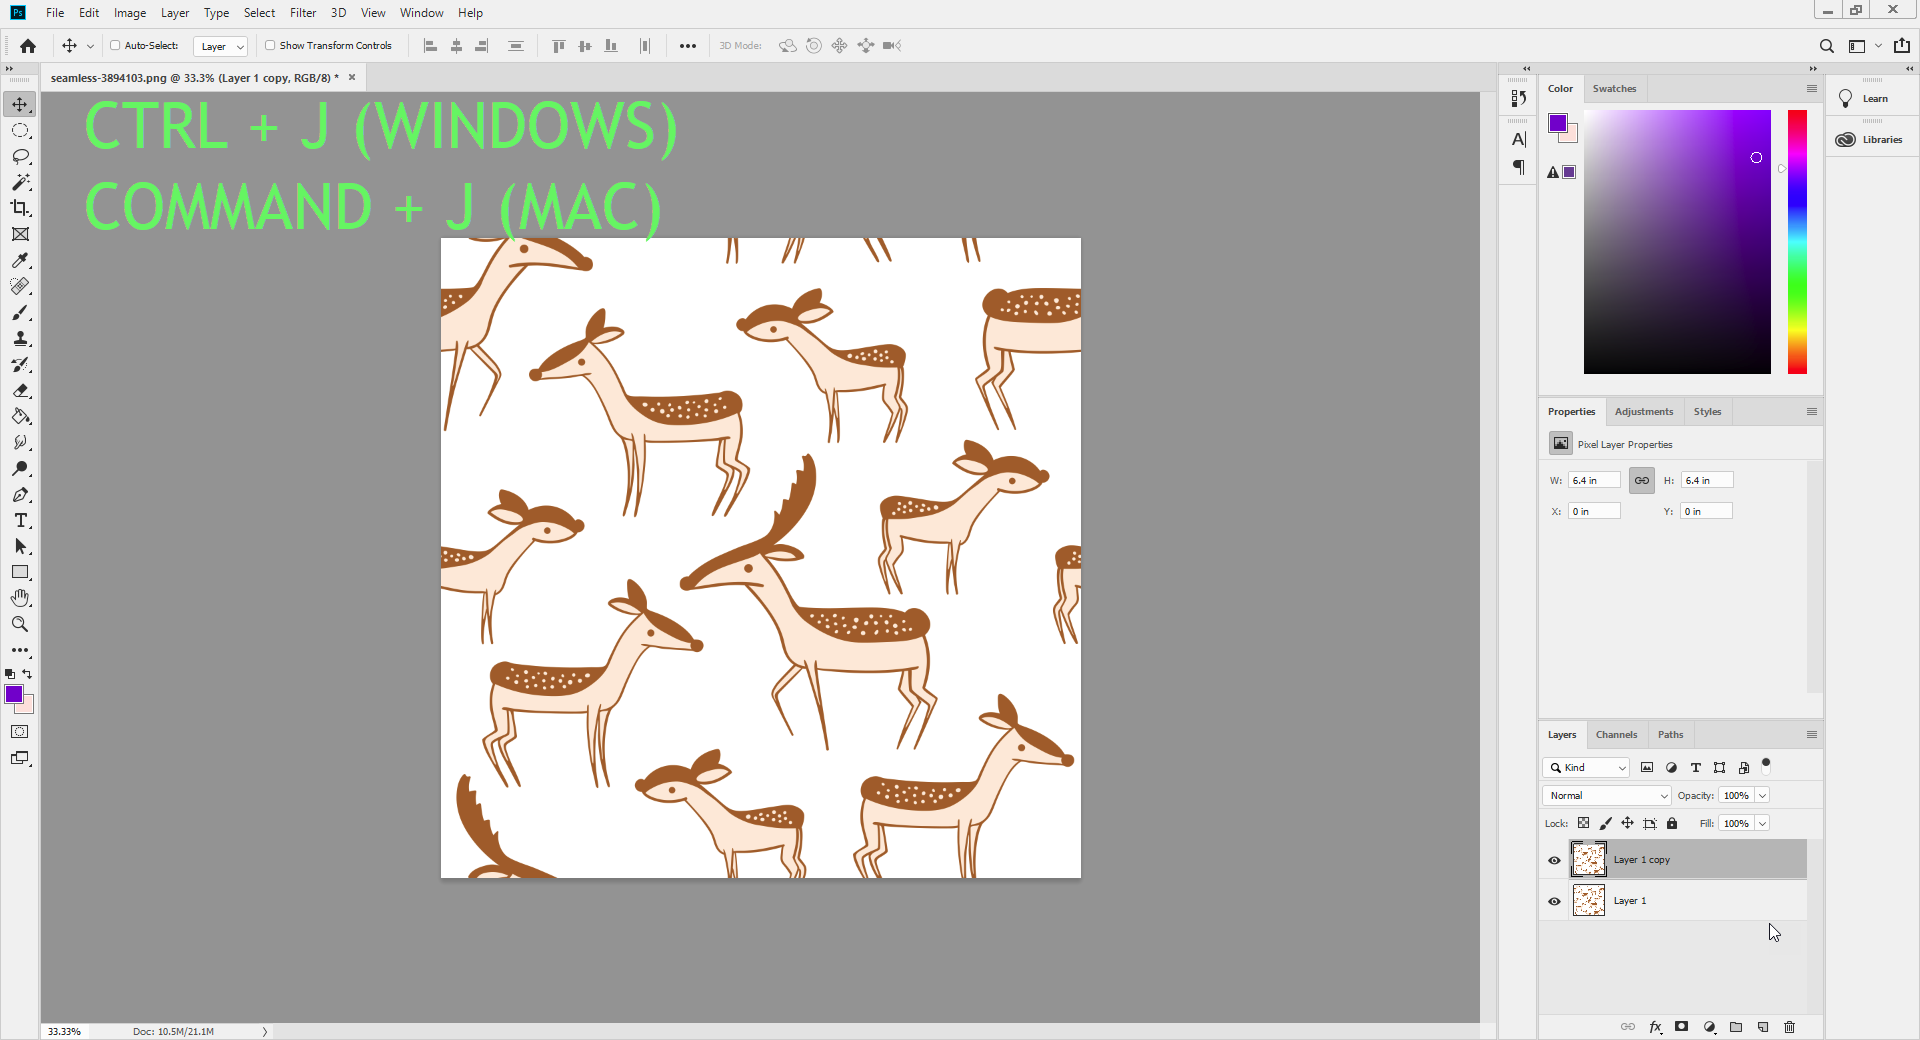
Duplicate your image by pressing the following:
- Windows – CTRL + J
- Mac – COMMAND + J
STEP 3 – Create a New, Blank Layer
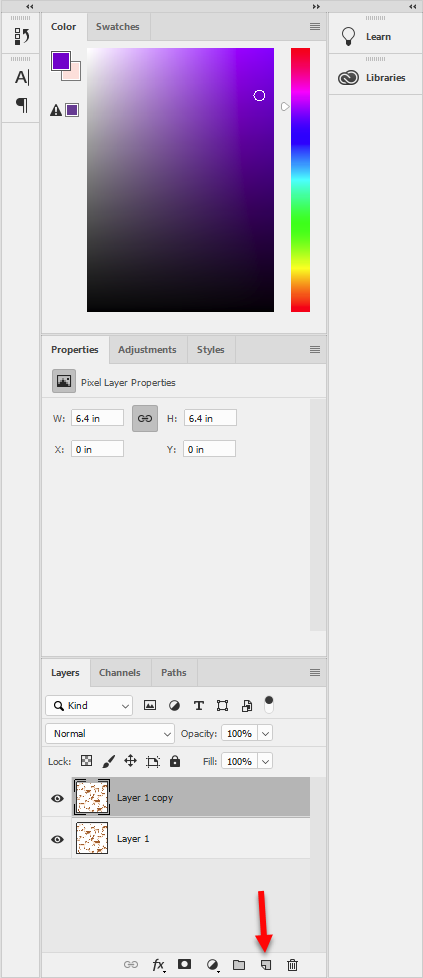
Click the “Create a New Layer” button in the Layers window
*If your Layers Window isn’t open, go to Window > Layers
STEP 4 – Select Your Brush
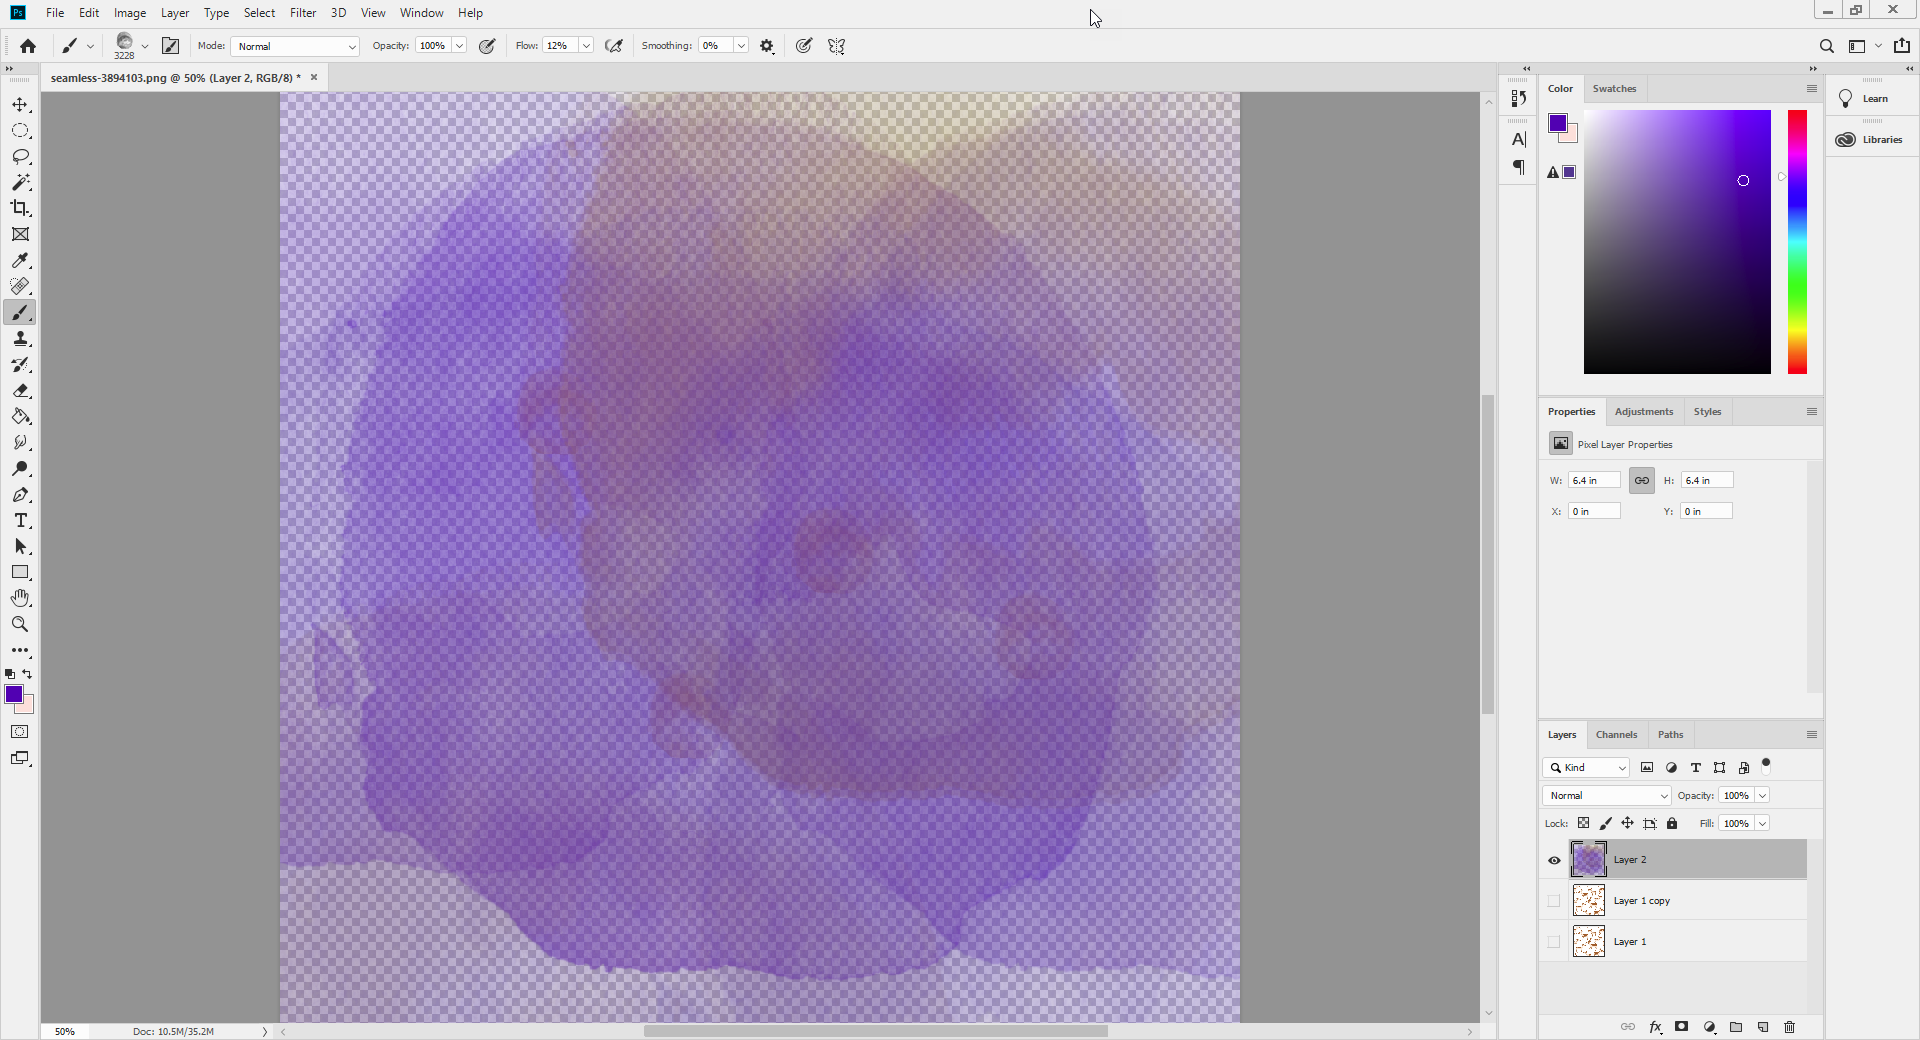
1. Click on the brushes on your tools panel *If your Tools aren’t open, go to Window > Tools
2. Click on the down arrow beside the brush to open your brushes selection 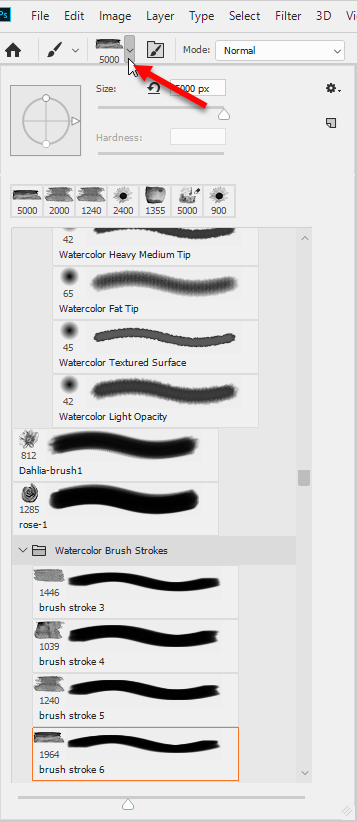
3. Choose the brush you want to use *If your brushes aren’t showing up, you need to import them. To import them, click the gear icon at the top of the brushes window
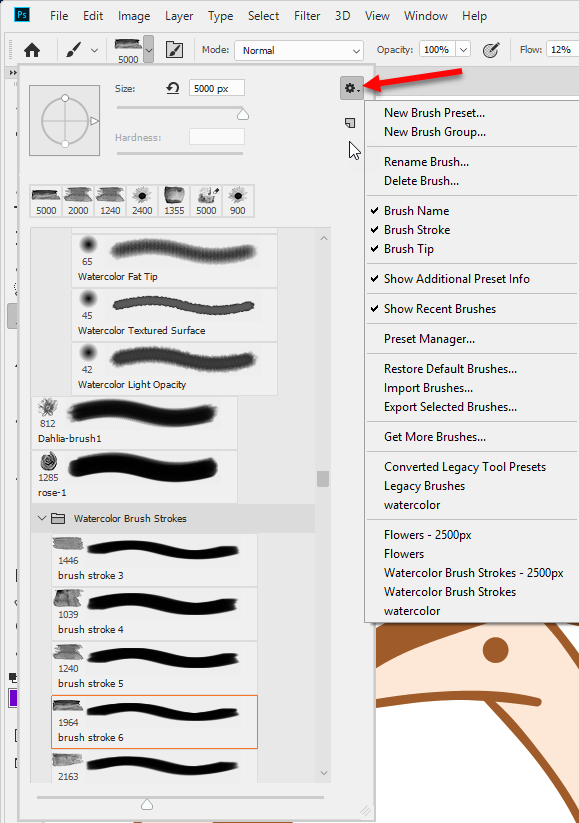 Then select “Import Brushes” > Find the ABR file for your brushes and double click it or click it and select “Load” Your brushes are now loaded in Photoshop so select the one you want to use
STEP 5 – Remove the Background from Your Clipart
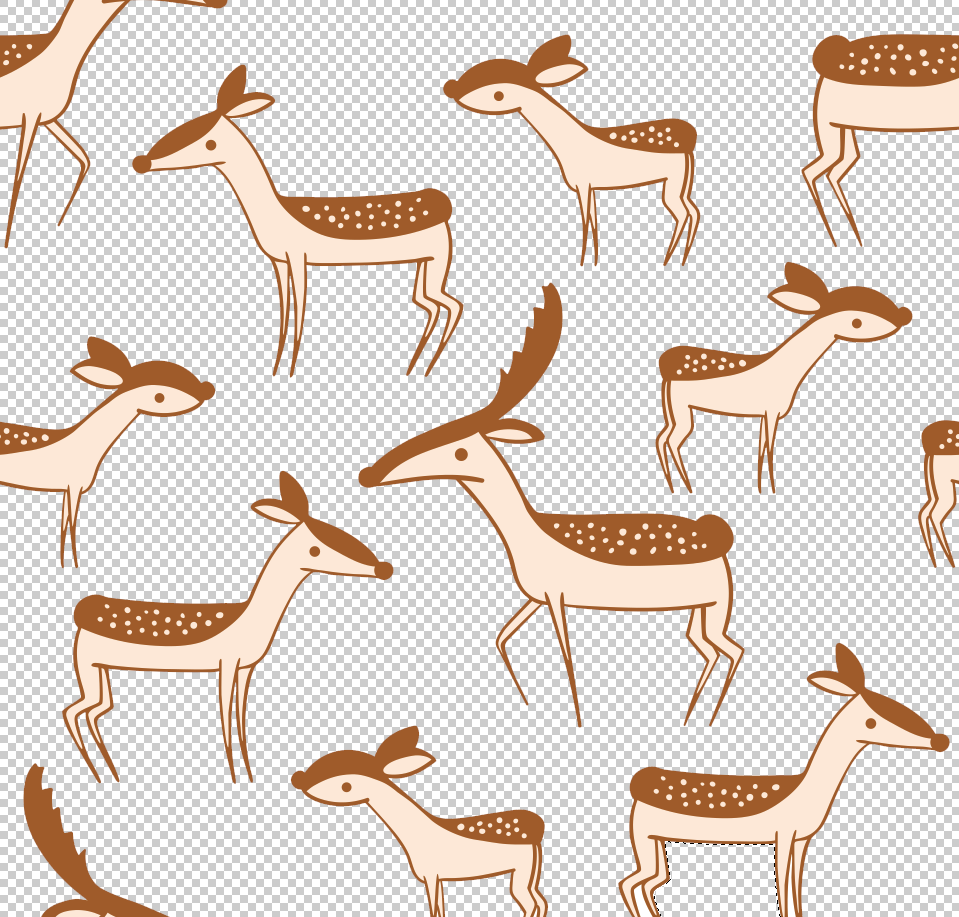
1. Make your clip art layer visible again by clicking on the “Eye” icon next to the layer.
2. Make the watercolor stamping art you just created invisible by clicking on the “Eye” icon once next to its layer
3. You’ll want to cut out your clip art to separate it from the background, if you haven’t done this already.
To Do This:
Make sure you’re on the layer by clicking on it one time
> Select the Magic Wand Tool in your toolbar 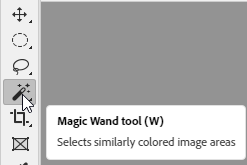 > Click the white background. You’ll see it selected in the preview window of Photoshop.
  > Press “Delete” on your keyboard *If any areas are still white, just click them again with your Magic Wand Tool and press Delete again. Here’s how it should look now:
STEP 6 – Add a Clipping Mask

1. Make your watercolor stamped layer visible again by clicking to re-activate the “Eye” icon next to the layer
2. Click on the layer to make it active
3. Right click and select “Create Clipping Mask” 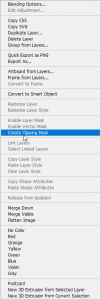 You can then click and drag the watercolor layer to where you want it to get the desired effect you want to achieve.


